There are lessons that come with time with finished projects and with abandoned ones. With rows knitted well and with rows that had to be undone. With the frustration of a mistake left uncorrected for too long and with the satisfaction of a finished garment that turned out exactly as imagined.
From Amano Yarns, alongside knitters with years of experience, we share 7 tips that will transform the way you knit not just your technique, but your relationship with your own creative process.
The 7 tips at a glance:
- Start with projects that match your skill level
- Always knit a gauge swatch
- Weave in your ends as you go
- Find your own way of knitting
- Build your personal knitting kit
- Learn to frog without fear
- Value (and charge for) your handmade work
1. Start with projects at your level (and why this actually speeds up your progress)
One of the wisest pieces of advice in the knitting world is also one of the most ignored: don't attempt something as your first project that is completely beyond your current skill level.
If you start with a project that is too advanced, chances are it won't turn out well the first time, frustration sets in quickly, and the project ends up abandoned at the bottom of a bag.
This doesn't mean settling or stopping yourself from exploring. It means being strategic. If you want to knit a vest but the only stitch you know is stockinette, your first vest should be in stockinette. Once you've mastered the construction of the garment, adding a new stitch becomes an exciting challenge rather than an obstacle.
The paradox is beautiful: knitters who progress level by level advance faster than those who skip steps because every finished project builds the confidence to tackle the next one. And a confident knitter is a knitter who doesn't give up.
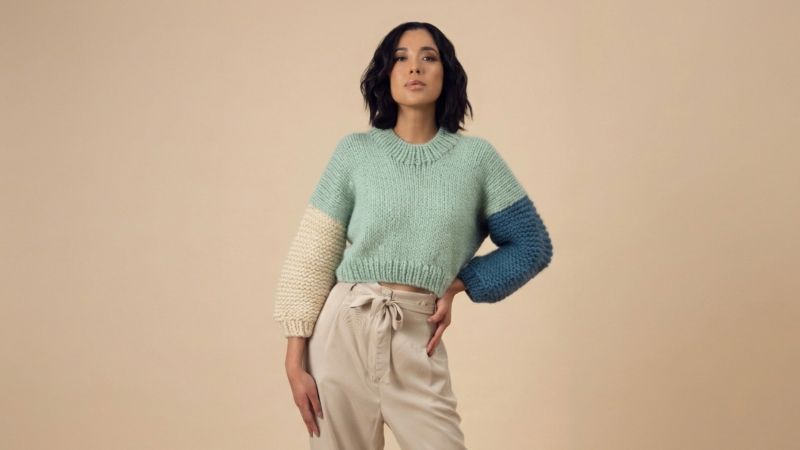
2. Always knit a gauge swatch
If there is one habit that separates a beginner knitter from an experienced one, it's the gauge swatch that small square that many skip and that always ends up making them pay the price.
What exactly is it? It's a small sample knitted with your chosen yarn and needle or hook that allows you to determine how many stitches and rows fit into a 10 x 10 cm square. With that information, you can accurately calculate how many stitches your final project needs and confirm that your needle size is correct.
Find the perfect yarns for your next project at Amano Yarns
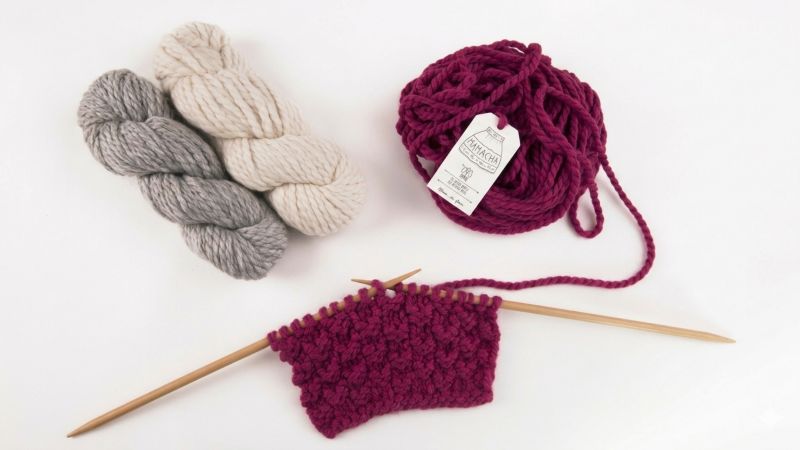
Step by step: your gauge swatch in 4 steps
Cast on more stitches than you need to measure. If your pattern calls for 20 stitches over 10 cm, cast on around 26–28. The edges of a swatch always distort, and you need to measure the clean central area.
Knit at least 12 cm in height in the stitch your project will use it's not always stockinette. If your garment is in seed stitch, your swatch should be in seed stitch.
Wash and dry the swatch the same way you would wash the finished garment. This is the step almost everyone skips and the most important one. Natural fibers like alpaca and merino relax and shift slightly in dimension after the first wash. Measuring without washing means measuring a fabric that won't exist.
Measure the central 10 x 10 cm square and count your stitches and rows. If you have more stitches than the pattern calls for, go up a needle size; if you have fewer, go down.
The tip goes further: save every swatch, label it with the yarn used and needle size, and gradually build your own personal reference library. It's a small gesture that saves hours of work and a great deal of frustration.
Find the perfect yarns for your next project at Amano Yarns
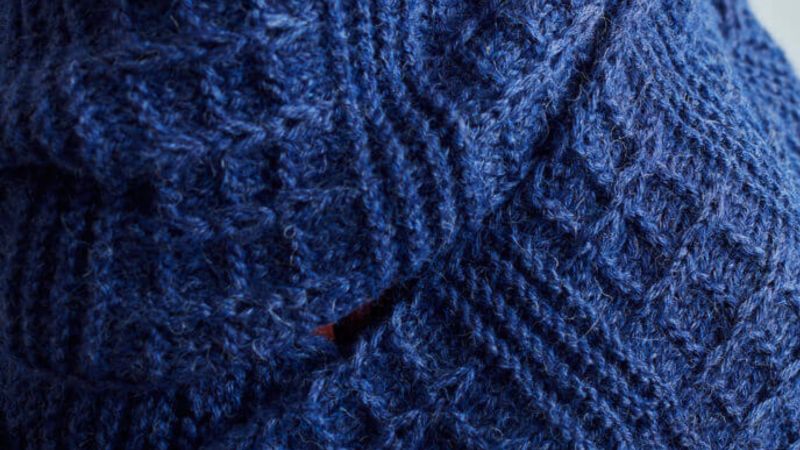
3. How to weave in ends without the pain: do it as you go
Loose ends are one of those problems that get ignored while a project is in progress and turn into a nightmare when you flip the finished piece over.
Every time you join a new ball or make a color change, ends are left that need to be woven in. The temptation to leave them all for the end is strong, but the advice from those who have already learned this lesson is clear weave them in the moment they appear.
Why does this work better?
It's easier: with the work still on the needles, you have clean access to the wrong side of the fabric.
They don't pile up: weaving in 2 ends takes 3 minutes; weaving in 40 at the end takes an entire afternoon and the motivation to do it? Zero.
The finish will thank you: a garment that is neatly finished on the inside is a garment made with pride.
A bonus tip: if you're working with slippery fibers like silk or bamboo, weave in the end in a zigzag in two different directions. This keeps it secure even when the fiber is silky smooth.
Find the perfect yarns for your next project at Amano Yarns
4. Find your own way of knitting
In knitting, there is no single correct way of doing things. Every knitter develops over time their own rhythm, their own posture, their own way of holding the yarn.
What matters is not knitting exactly like the YouTube tutorial or like the friend who taught you your first stitches what matters is that knitting flows naturally and that the result is what you expected. There are many paths to the same destination, and all of them are valid.
In fact, there are entirely distinct formal styles, Continental, English, Portuguese, with millions of expert knitters in each one. None of them is "the right one." The right one is the one that feels comfortable to you.
A reminder: if knitting feels uncomfortable or forced, it's worth exploring other ways of holding the yarn or needles. Comfort translates directly into the quality of your knitting and into how many hours you can knit before your hands start to ache.
In knitting, there is no single correct way of doing things. Every knitter develops over time their own rhythm, their own posture, their own way of holding the yarn.
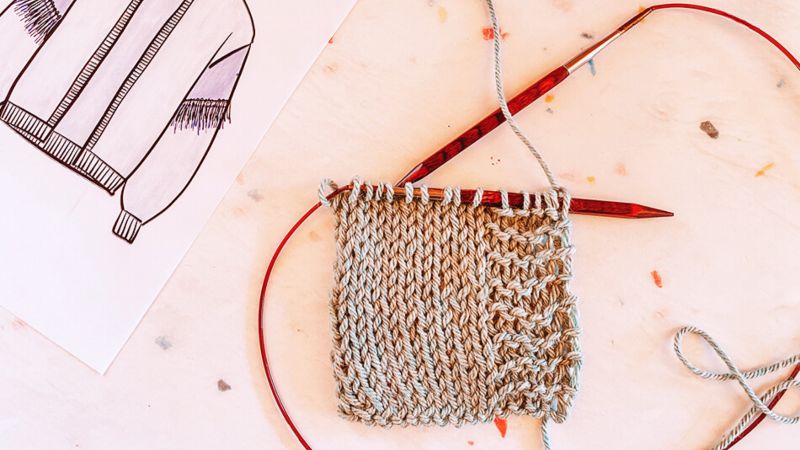
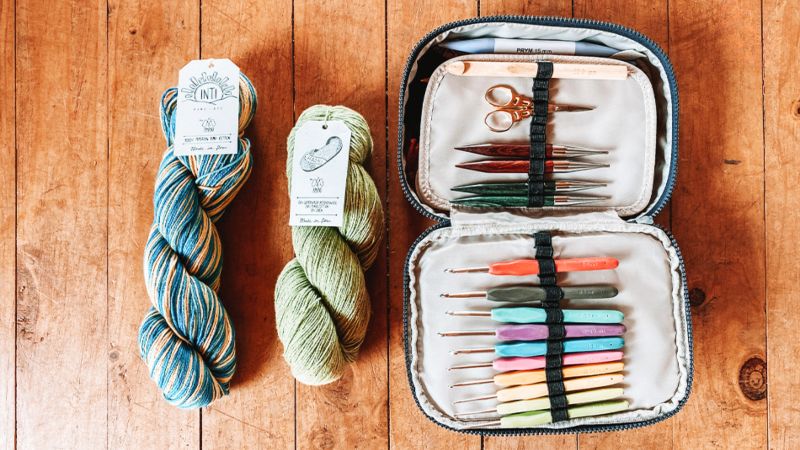
5. What to include in your personal knitting kit (complete list)
When knitting stops being an experiment and becomes a passion, the time comes to invest in the right tools. Building your own personal knitting kit is one of the most satisfying steps on this journey.
The essentials:
- Needles or hooks in different sizes (the ones you use most based on your projects)
- Small sharp-tipped scissors
- Tapestry needles for finishing and weaving in ends
- Stitch markers lifesavers in patterns with repeats
- Flexible measuring tape
The ones that elevate your experience:
- Stitch holders for work in progress
- Blocking pins to give your finished garments their final shape
- Row counter (mechanical or app)
- A project case or bag that travels with every knit wherever you go
The investment in good needles and hooks is a one-time expense, and the difference in your knitting experience is felt from the very first use. It's worth doing it right from the beginning.
6. Frogging without fear: the tip that changes everything
This is perhaps the most difficult tip to follow and the most transformative of all.
When you're deep into a project and discover a mistake several rows back, the temptation to ignore it is enormous. "It won't be noticeable," "it's on the wrong side," "it's almost finished." But that mistake will always be there, like a small pebble in your shoe that won't let you enjoy the final result.
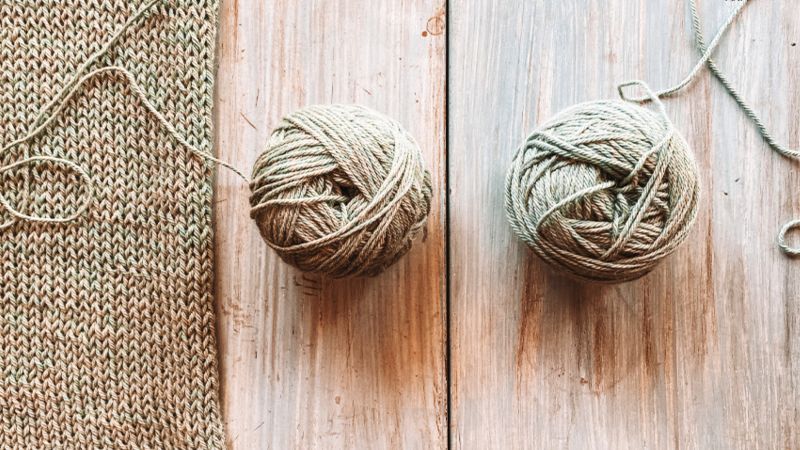
Learning to frog is learning to let go. It is also learning — because undoing knitting teaches you how stitches are constructed, how the yarn behaves, and how to correct mistakes more easily next time.
Something few knitters know: the quality of the fiber determines how many times you can frog without damaging the material. High-quality natural fibers — baby alpaca, merino, Peruvian wool withstand being frogged and re-knitted without losing structure or softness. Inexpensive synthetic fibers, on the other hand, visibly wear out with each frogging. It's one more reason to choose your materials wisely from the start.
The fear of frogging disappears with practice, and what remains is a piece you can be truly proud of.
Find the perfect yarns for your next project at Amano Yarns
7. How to value (and charge for) your handmade work
For those for whom knitting is also a life project or a source of income, this tip is essential your time and skill have a value that must be reflected in your prices.
It is very common to calculate the cost of materials and completely forget the cost of labor. But behind every knitted garment are hours of work, years of practice, learned technique, and a level of detail that no mass production can replicate.
A simple formula for pricing your knits:
Price = Materials + (Hours of work × Hourly rate) + Margin (20–30%)
For example: a shawl that uses S/95 in yarn and takes 12 hours to knit, at a rate of S/8 per hour:
- Materials: S/95
- Labor: 12 × S/8 = S/96
- Subtotal: S/191
- 25% margin: S/48
- Final price: S/239
Does that seem high compared to retail? That is exactly the mental trap that needs to be broken. We live in a world accustomed to fast fashion, and that can sometimes make it difficult to set the right price for handmade work. But handmade does not compete with industrial it exists in a different category. A superior category, with history, with intention, and with real value.
If your buyer doesn't value those 12 hours, they are not your customer. And the customers who do value them exist and they come back.
Frequently asked questions from beginner knitters
What yarn is best for learning to knit?
For beginners, the ideal choice is a medium-weight fiber (worsted or bulky), in a light color so stitches are easy to see, with good elasticity. Merino wool and Peruvian wool blends are excellent options; they are gentle to the touch, forgiving of mistakes, and hold up well to frogging. At Amano Yarns you'll find qualities designed for every skill level.
How long does it take to learn to knit?
The basic stitches (knit and purl, or chain and single crochet) can be learned in one or two sessions. Knitting your first simple project, a scarf, or a cowl can take between one and three weeks of practice. What matters is not speed: it's consistency.
Is it better to start with crochet or straight needles?
Neither is objectively easier; they are different languages. Crochet tends to produce visible results more quickly and uses a single tool; straight needles create more elastic fabric, ideal for garments. Our advice: try both with a small project and stick with the one you enjoy most. Or both.
How do I avoid abandoning my projects halfway through?
Three strategies that work: choose projects at your level (tip 1), work on one large project at a time (with permission for one small "rest" project on the side), and celebrate your progress by sharing it the knitting community is the greatest source of motivation there is.
Knitting as a Way of Life
These 7 tips are not just about technique. They are about the relationship every knitter builds with their process, their mistakes, their time, and their own worth.
At Amano Yarns we believe that knitting well starts with choosing well — the right yarns, the right tools, and the mindset that allows you to enjoy every stitch along the way.