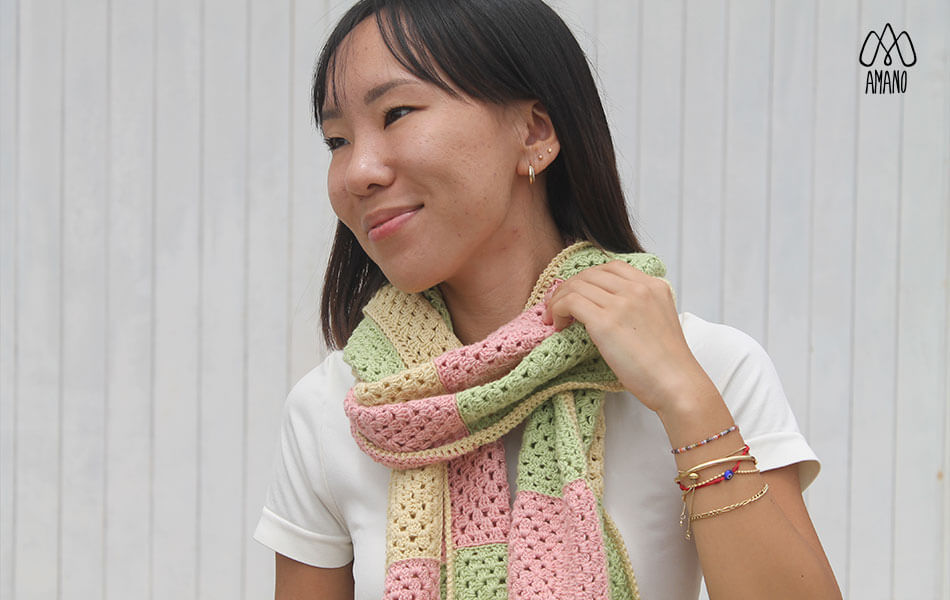
I’ve been working on this easy crochet project, and I say -easy- because it consists of a bunch of granny squares sewn together combining three beautiful colors. To crochet this accessory, I used Chaski (60% Superwash Merino Wool, 30% Pima Cotton, 10% Linen). Even though sometimes fine strands seem intimidating, I believe it gives the project a delicate look. It also works perfect for the Peruvian’s season transition of spring/summer.
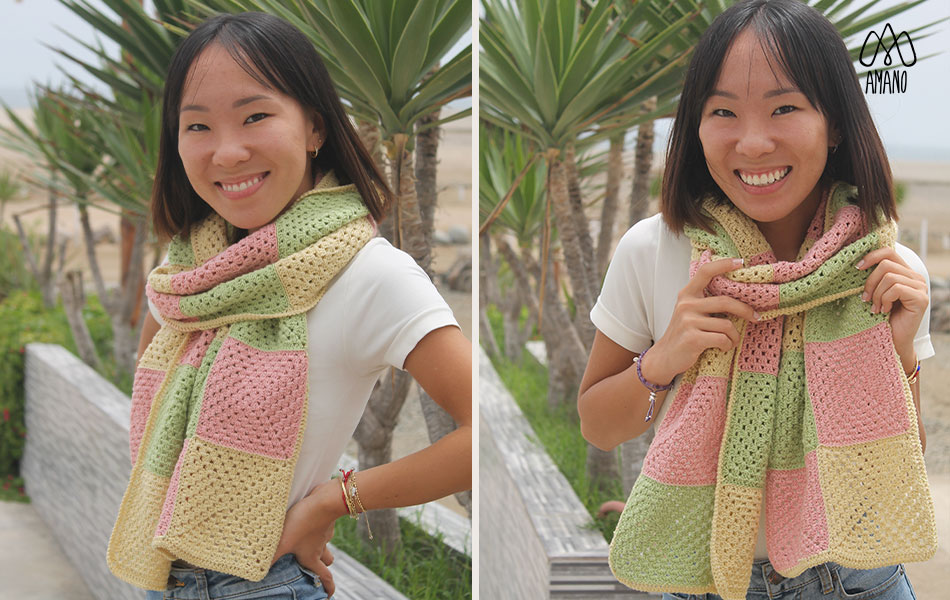
Now, you must know I’m not used to combining colors specially in garnments… reason why I decided to go for an accessory. I ended up really liking the result as it’s wearable with jeans and a basic tee. The handmade scarf definitely pops up.
The pattern is easy to follow specially for beginners hence it consists of basic stitches! Go ahead and take a look at the pattern so you can learn how to make this easy Granny Scarf.

LEVEL
Easy
FINAL MEASUREMENTS
Width 25cm/p>
Length 1.74cm
MATERIALS
Chaski (100g/200m)
- Banana #1721 – 2 skeins
- Blossom #1703 – 1 skein
- Citron #1723 – 1 skein
Crochet 3mm
Centímetro
Aguja lanera
NOTES
Each granny is made one by one, then sewn together with a tapestry needle applying an invisible seam technique. Lastly, a border in double crochet is added. To change the finished measurements, you can knit more/less rows per granny or border..
ABREVIACIONES
Ch chain
Dc double crochet
Sc single crochet
Sl slip stitch
Sk skip
M marker
R row
INSTRUCTIONS
R0: magic ring.
R1: Ch3, 2dc (M on 1st), ch2, *3dc, ch2; repeat from * twice more, sl st in the 1st stitch – total 4 blocks of 3dc each.
R2: Ch2, 2dc in the closest corner (M on 1st), sk to the next corner and make [3dc, ch2, 3dc]; repeat sequence on each corner until you reach the beginning of the row and make [3dc, ch2] then sl st in the 1st stich.
R3: Ch2, 2dc in the closest corner (M on 1st), sk to the next hole and make 3dc, sk to the next corner and make [3dc, ch2, 3dc]; repeat the sequence of hole and corner until you reach the beginning of the row and make [3dc, ch2] then sl st in the 1st stich.
R4: Ch2, 2dc in the closest corner (M on 1st), *sk to the next hole and make 3dc; repeat from * once more, sk to the next corner and make [3dc, ch2, 3dc]; repeat the sequence of holes and corners until you reach the beginning of the row and make [3dc, ch2] then sl st in the 1st stich.
Continue until you reach Row 8. Starting from Row 2, all rows begin and end the same. After ending Row 8, my granny measures approx. 12x12cm.
Cut yarn and close granny square. Repeat until you have a total of 30 grannies. Join with invisible seam following the color order. Crochet a border in dc, or any stitch of your preference.

Can’t wait to see your final project! Feel free to post a picture and tag us, we’d love to see your Granny Scarf.


