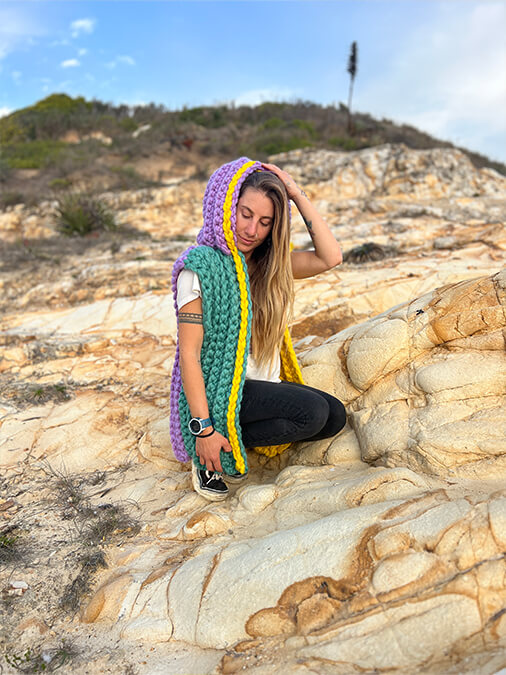
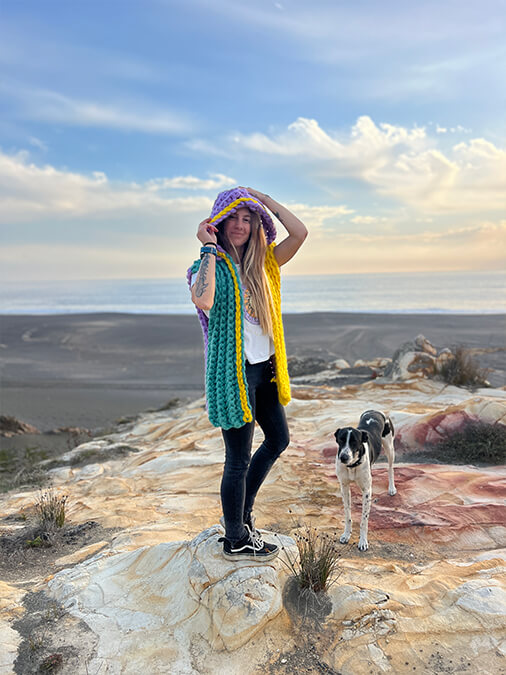
When I first saw this yarn, an idea of an Ultra XL Sleeveless Cardigan immediately popped into my head. I wanted to create something that looked large but felt lightweight and soft, which is why Yana XL was the perfect yarn for this project.
It's a quick knit design thanks to the thickness and crochet we're going to use.
Its construction is basic, starting from rectangles, and the pattern is written in One Size with final garment measurements of 50cm wide by 65cm long.
Materials:
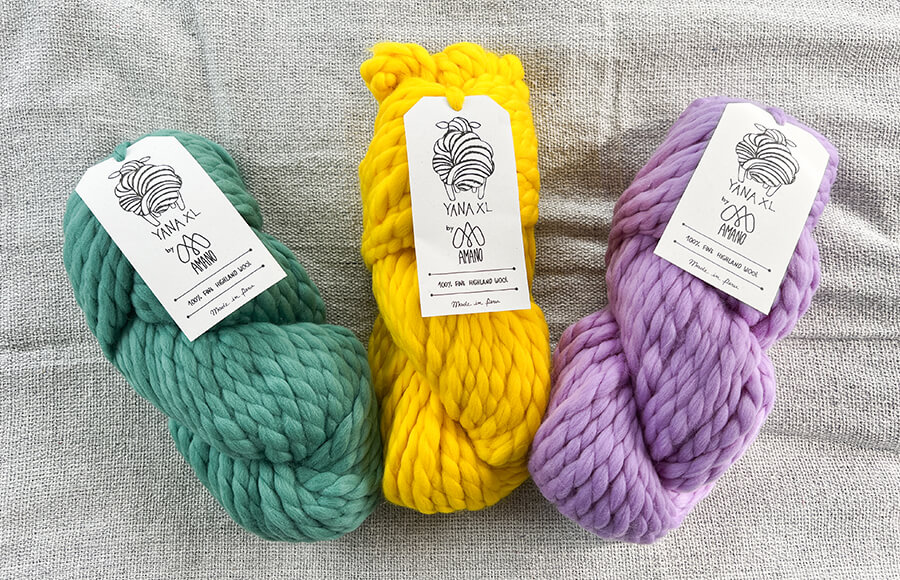
800g Yana XL Color A (back) 4 skeins
400g Yana XL Color B (front 1) 2 skeins
400g Yana XL Color C (front 2) 2 skeins
Crochet hook 25mm
Stitches Used:
Chain (CH))
Single Crochet (SC)
Single Crochet in the Back Loop Only (SCBLO)
Slip Stitch (SS)
Tension Gauge:
The tension gauge in a knit is the guide for any project. I recommend taking the time to knit it so you can compare it with mine and be sure that the measurements will match.
If you change the yarn or the crochet hook, you will need to adapt the measurements to your tension gauge.
9 stitches x 7 rows | 20x20 cm
General Construction of the Cardigan
As I mentioned earlier, this design is a basic cardigan that we will build from rectangles, which we will join together to form the final garment.
You can see the drawing where I explain the parts that make up the cardigan:
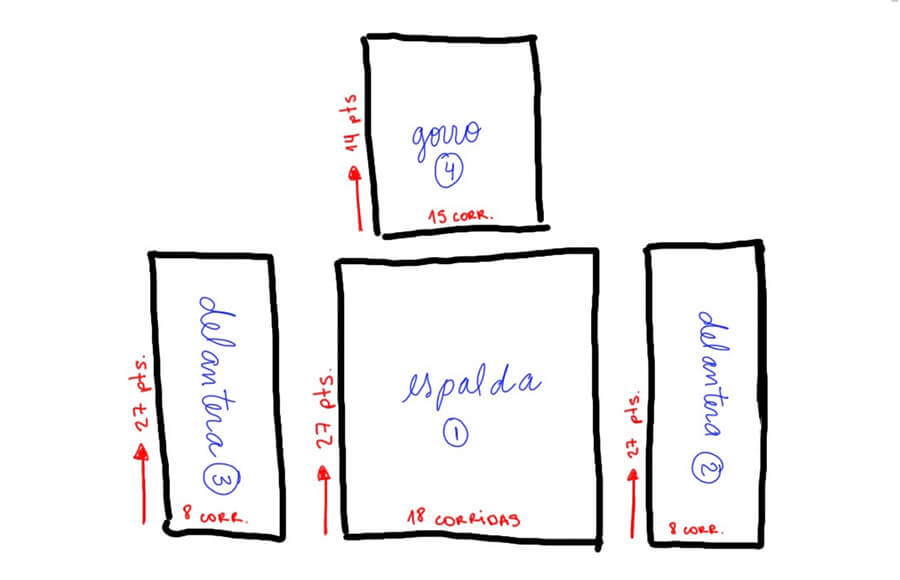
The direction of the knit is lengthwise, not widthwise as most knits are, so our starting chain will represent the length, not the width, of our final garment.
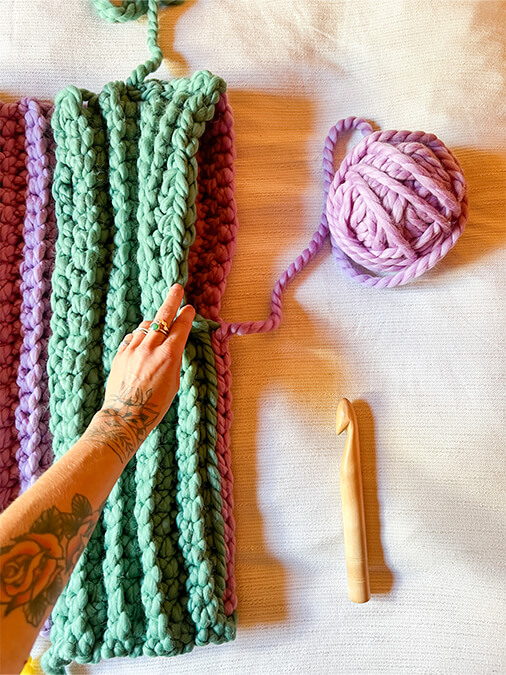
Throughout the knit, we will crochet in Single Crochet in the Back Loop Only, this stitch is often used to simulate the technique of knitting with two needles.
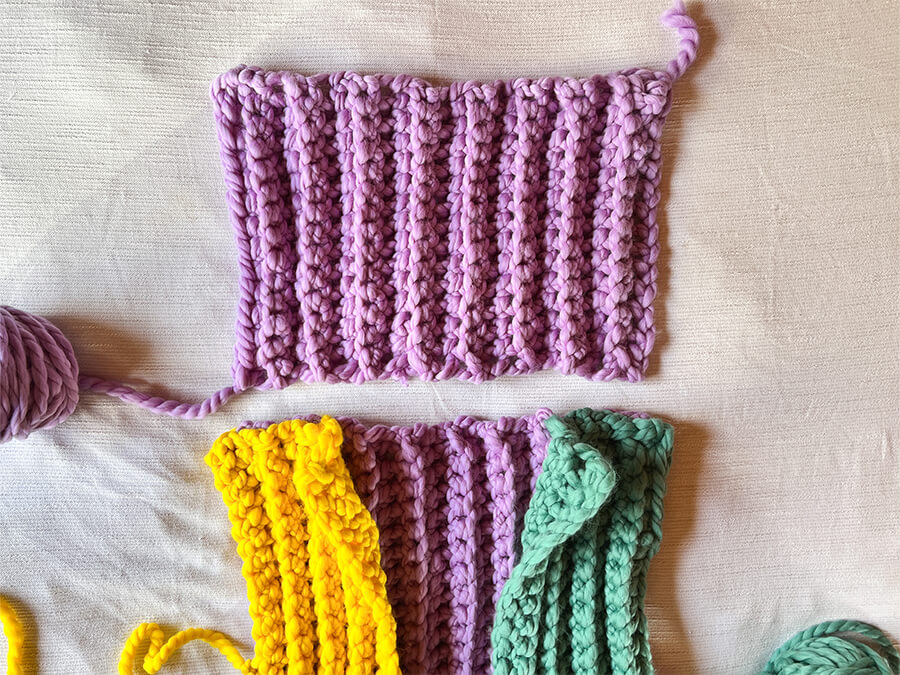
Back:
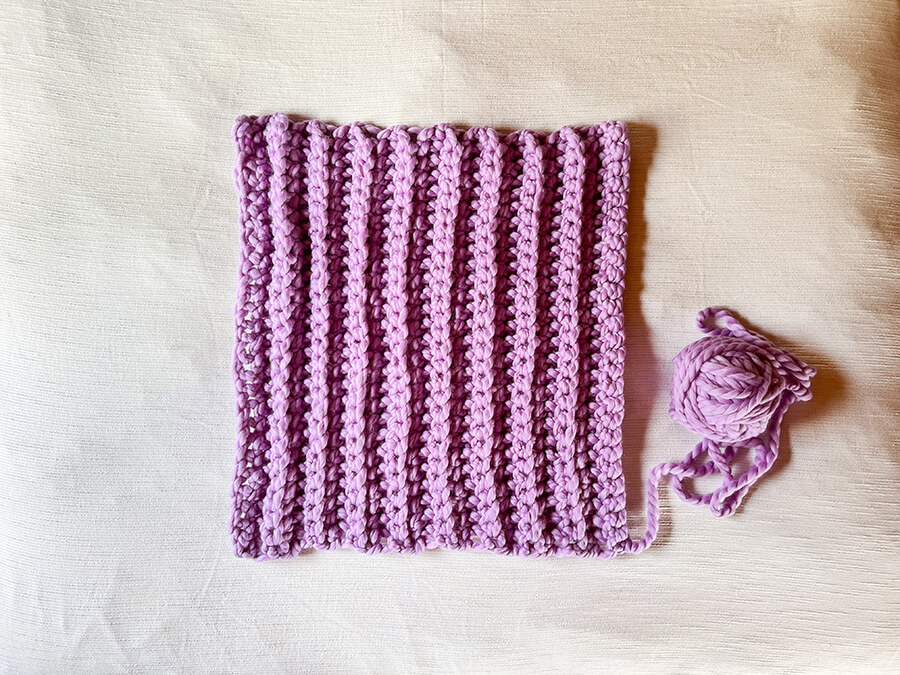
We will start by knitting the rectangle for the back of the cardigan. For this, with Color A, we will make a chain of 27 stitches + 1 turning chain (this chain does not count as the first stitch).
Crochet 27 single crochets over the chain (this will be row number 1).
Repeat crocheting rows in Single Crochet in the Back Loop Only until you have a total of 18 rows.
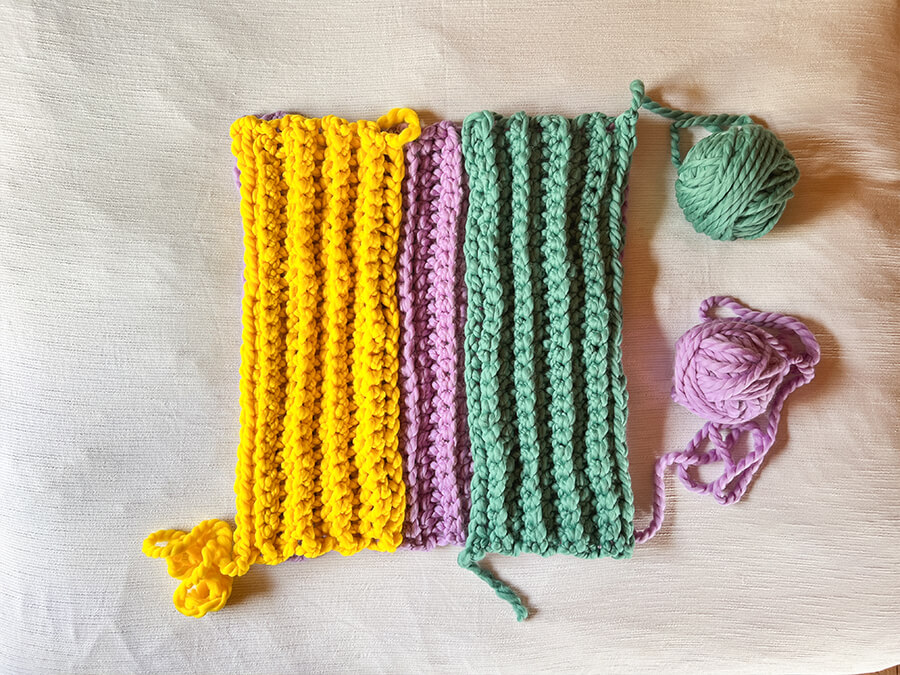
Front 1:
With Color B, chain 27 stitches + 1 turning chain (this chain does not count as the first stitch).
Crochet 27 single crochets over the chain (this will be row number 1).
Repeat crocheting rows in Single Crochet in the Back Loop Only until you have a total of 8 rows.
Front 2:
Repeat the same as for front 1 but with Color C.
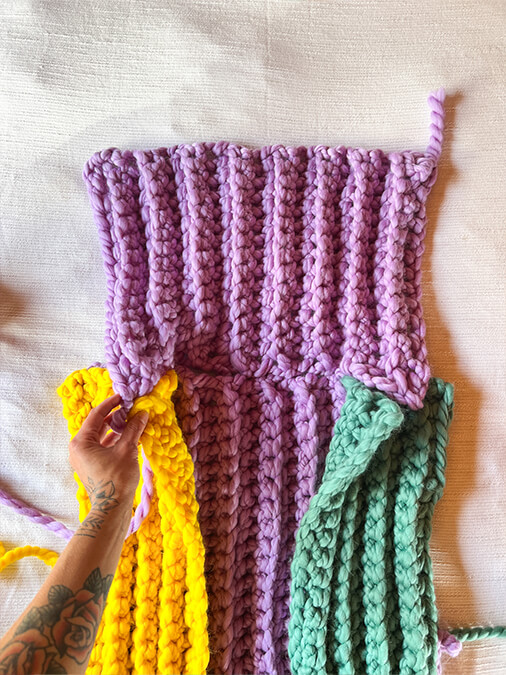
Joining the Sides and Shoulders:
Once you have knitted the back and both fronts, we will join the shoulders of the cardigan on the wrong side using Slip Stitch. You will start from the shoulder inwards, leaving the last 2 stitches UNJOINED.

You will also need to join the sides of the cardigan. Start from the bottom up and close with Slip Stitch a total of 15 stitches. This will allow us to obtain a loose space for the armhole.
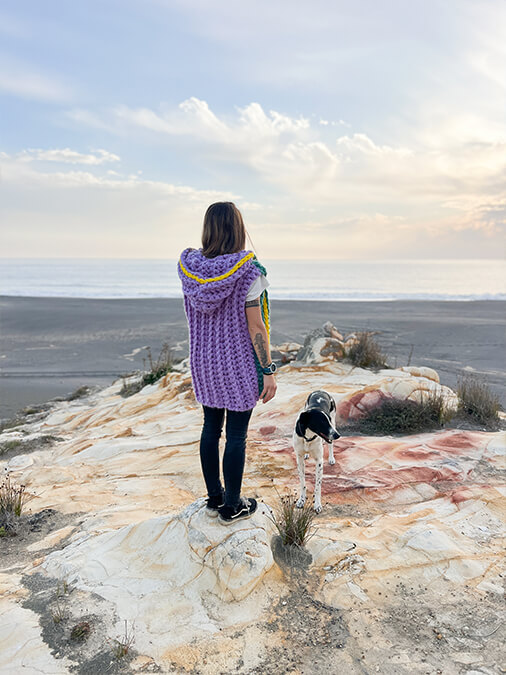
Hood:
The hood of the cardigan will be crocheted in color A. And you will need to crochet another rectangle that we will join later.
Using color A, chain 14 stitches + 1 turning chain (this does not count as the first stitch).
Crochet 1 Single Crochet in the Back Loop Only in each stitch (row #1).
Repeat crocheting rows in Single Crochet in the Back Loop Only until you have a total of 15 rows.
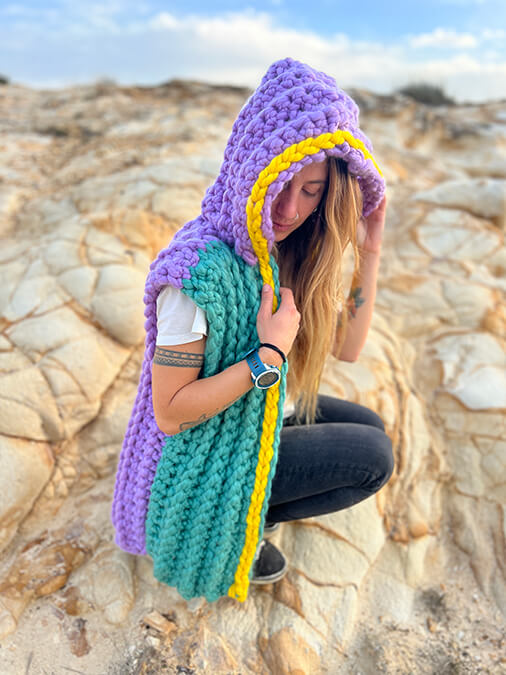
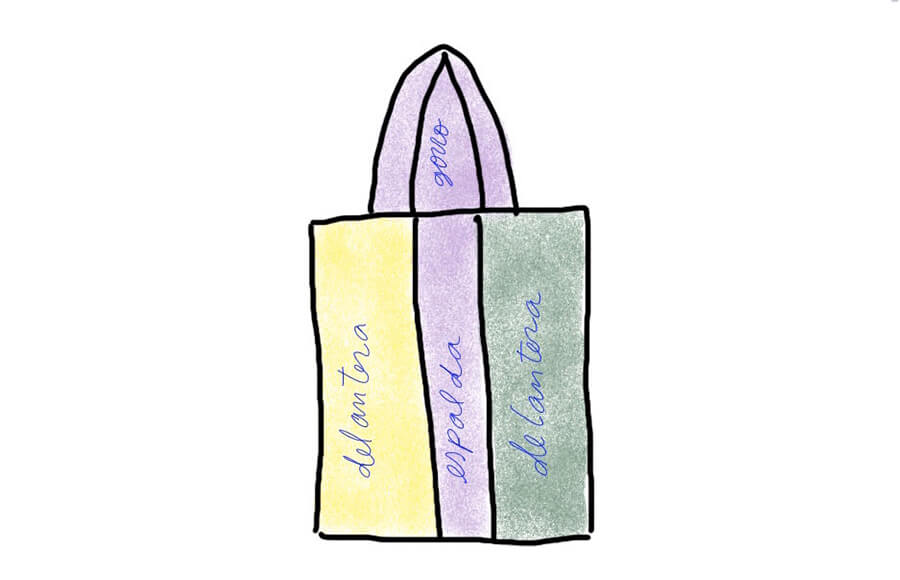
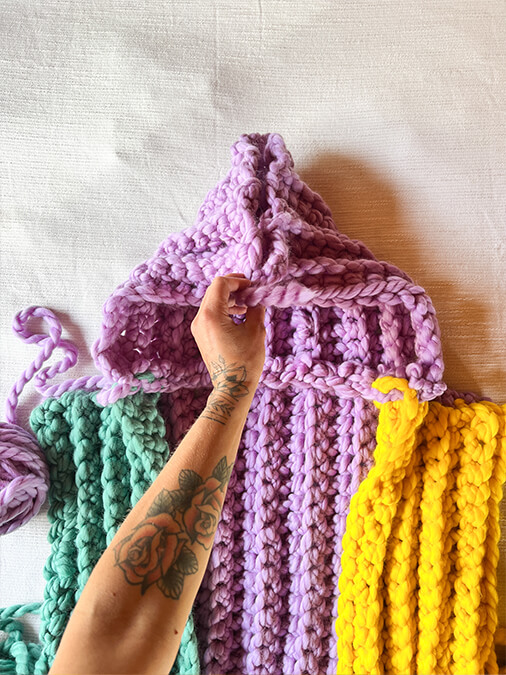
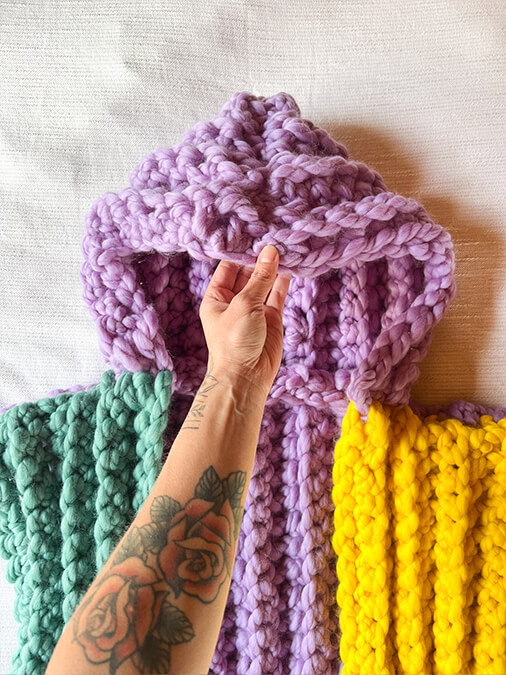
Once you have the rectangle of the hood, you will need to join with slip stitch over the stitches left free on the front, passing through the neck to the other front. Make sure all seams are on the same side, so that it becomes the wrong side of your cardigan.
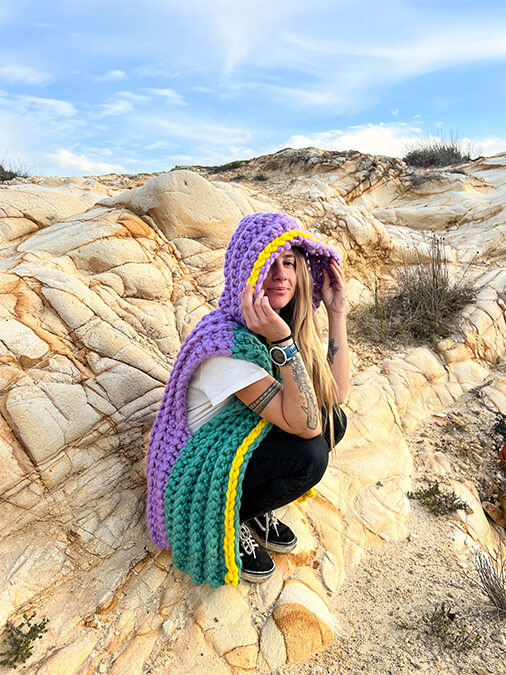
The final part of the hood will be to join the top to close it and thus form the hood as I show you in the photograph.
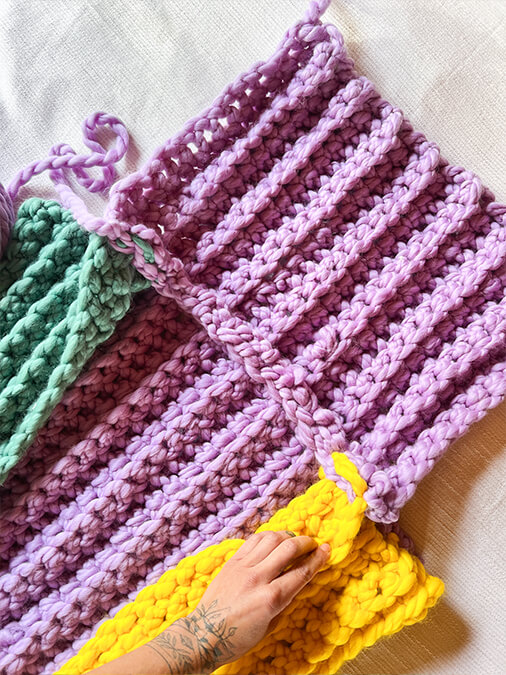
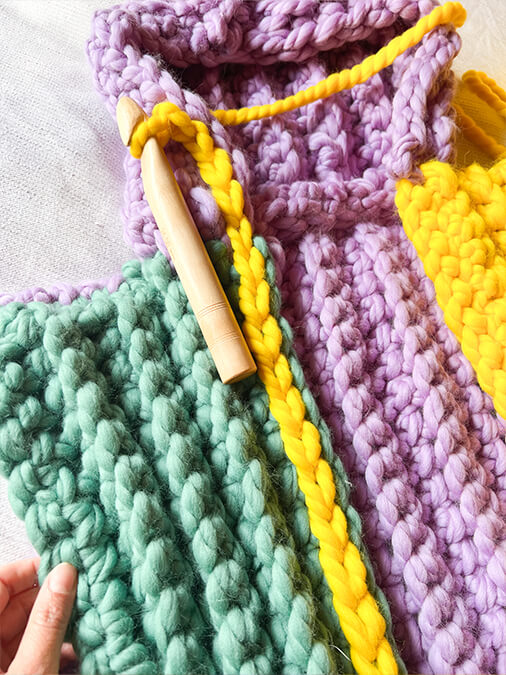
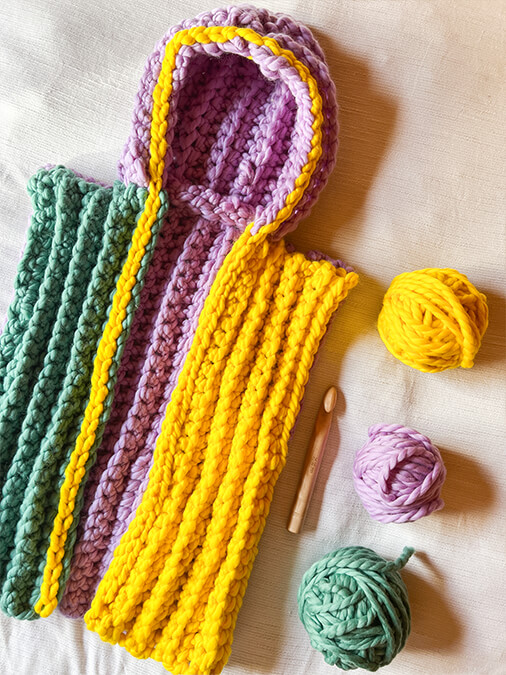
Final Finishing:
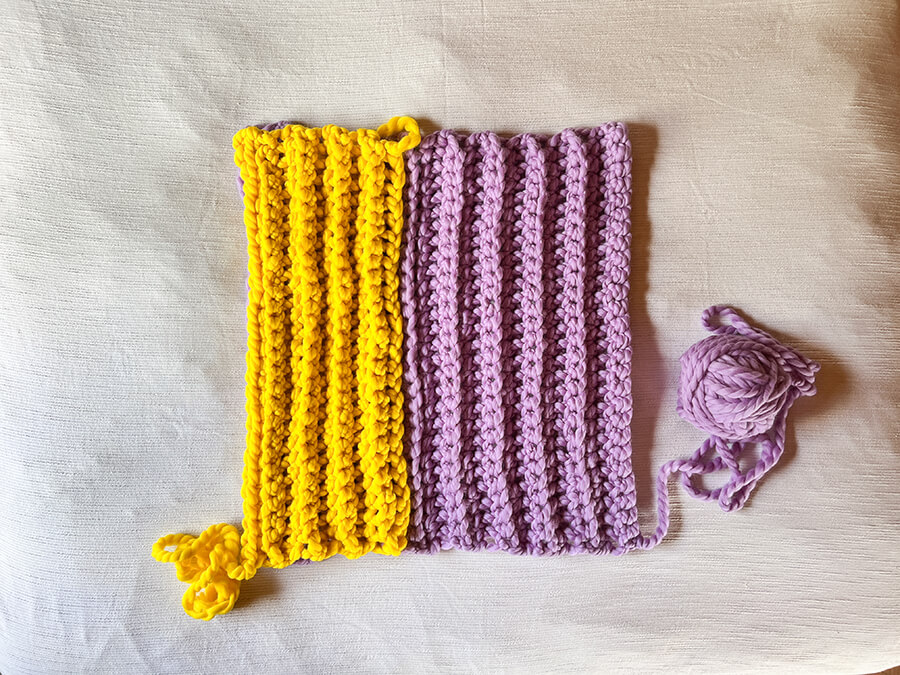
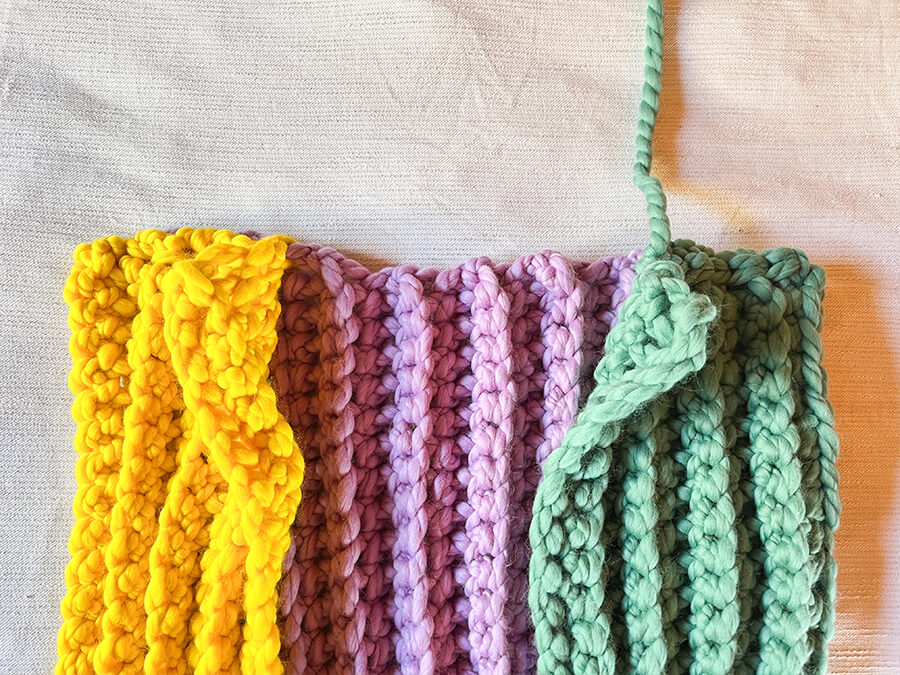
To give the final touch, I crocheted in yellow, a row of slip stitches all around the edge to create a braid. You can choose the color you like best. Just make sure you are crocheting on the right side of the knit so that the braid is visible.
Thank you!
Thank you very much for trusting my pattern, I hope you liked it and share your progress always tagging @inspiratemirando and @amanoyarns!